Imagine stepping outside—or even just reaching over to your kitchen windowsill—and harvesting fresh basil for your pasta or mint for your tea. Growing herbs at home is one of the easiest and most rewarding ways to start gardening. Whether you have a big backyard, a small balcony, or just a sunny window, you can enjoy fresh, flavorful herbs year-round.
This complete guide will show you how to choose, plant, care for, and harvest your own herbs, even if you’ve never gardened before. Let’s dive into the simple joy of growing your own green, fragrant oasis.
Why Grow Herbs at Home?
Growing herbs offers benefits far beyond saving a trip to the grocery store.
1. Freshness and Flavor
Homegrown herbs taste far better than store-bought ones, which often lose flavor sitting on shelves.
2. Cost-Effective
A few packets of seeds can provide herbs for months or even years—at a fraction of supermarket prices.
3. Convenience
Having herbs within arm’s reach encourages you to cook healthier, more flavorful meals.
4. Therapeutic and Educational
Tending to plants is relaxing, rewarding, and a great way to learn about nature.
Step 1: Choose Your Herbs Wisely
Start by selecting herbs that are easy to grow, match your cooking style, and fit your environment.
Best beginner-friendly herbs:
| Herb | Light Needs | Water Needs | Best For |
|---|---|---|---|
| Basil | Full sun | Moderate | Italian, Thai, and summer dishes |
| Mint | Partial sun/shade | High | Teas, desserts, cocktails |
| Parsley | Full to partial sun | Moderate | Soups, sauces, salads |
| Rosemary | Full sun | Low | Roasted dishes, breads |
| Thyme | Full sun | Low | Roasts, stews, vegetables |
| Oregano | Full sun | Low | Pizza, pasta, Mediterranean |
| Chives | Full to partial sun | Moderate | Garnishes, salads, soups |
| Cilantro | Full sun | Moderate | Salsa, curries, salads |
Choose herbs you actually like to cook with—it’ll make the growing process even more rewarding.
Step 2: Decide Where to Grow
You don’t need a huge garden to grow herbs. There are options for every space.
Outdoor spaces:
- Garden beds
- Balcony planters
- Window boxes
- Hanging baskets
Indoor spaces:
- Kitchen windowsills
- Sunrooms
- Shelves under grow lights
Light is critical. Most herbs need 6 to 8 hours of sunlight per day. If you’re growing indoors and don’t have enough natural light, consider using LED grow lights.
Step 3: Pick the Right Containers
If you’re not planting directly in the ground, containers are your next best friend.
Container tips:
- Choose pots at least 6 to 8 inches deep.
- Make sure pots have good drainage holes.
- Use terracotta, ceramic, plastic, or fabric containers.
- Group herbs with similar water needs in the same pot.
- Use saucers to catch excess water indoors.
Tip: Mint spreads aggressively—grow it in its own container.
Step 4: Use the Best Soil
Herbs need well-draining, nutrient-rich soil to thrive.
Best soil mix:
- High-quality potting mix (not garden soil)
- Add perlite or coarse sand to improve drainage
- Mix in organic compost for slow-release nutrients
Avoid heavy soils that stay wet too long, which can cause root rot.
Step 5: How to Plant Your Herbs
You can start herbs from seeds or small nursery plants. Both methods work, but buying young plants saves time.
Starting from seeds:
- Sow seeds according to packet instructions.
- Keep the soil moist but not soggy.
- Use a seed-starting tray or small pots.
- Cover seeds lightly with soil.
- Keep in a warm, sunny spot or under grow lights.
Starting from nursery plants:
- Gently loosen roots before planting.
- Plant at the same depth as the nursery pot.
- Water thoroughly after transplanting.
Step 6: Caring for Your Herb Garden
Once planted, herbs need consistent care to grow lush and flavorful.
Watering:
- Water when the top inch of soil feels dry.
- Herbs hate soggy soil—better slightly dry than too wet.
- Use a watering can with a fine spout to avoid disturbing the soil.
Fertilizing:
- Use organic liquid fertilizer every 4–6 weeks.
- Don’t over-fertilize—too much nitrogen = lots of leaves, little flavor.
Mulching:
- Add a thin layer of mulch (like straw or coconut coir) to retain moisture and reduce weeds.
Step 7: Pruning and Harvesting Herbs
Regular harvesting isn’t just about using the herbs—it helps plants grow better!
How to harvest:
- Start when plants are 6–8 inches tall.
- Snip herbs in the morning for best flavor.
- Cut just above a leaf node to encourage bushier growth.
- Never harvest more than one-third of a plant at a time.
Frequent pruning prevents flowering, which can cause many herbs (especially basil and cilantro) to lose flavor.
Step 8: Preserving Your Herbs
Got more herbs than you can use? Great problem to have! You can easily preserve them for later.
Methods:
- Drying: Hang bunches upside down in a dark, dry place.
- Freezing: Chop and freeze herbs in ice cube trays with a little water or olive oil.
- Herb butters and oils: Blend fresh herbs into butter or oil for easy flavor boosts.
- Pesto: Blend basil, garlic, nuts, cheese, and oil for a delicious sauce.
Preserving lets you enjoy your harvest even in the off-season.
Step 9: Common Problems and How to Solve Them
Yellow leaves:
- Overwatering or poor drainage.
- Solution: Check drainage, let soil dry slightly between waterings.
Wilting plants:
- Underwatering or extreme heat.
- Solution: Water deeply and mulch soil.
Slow growth:
- Poor soil nutrients or low light.
- Solution: Add compost or reposition the plant for better sun exposure.
Aphids or pests:
- Tiny bugs sucking sap from leaves.
- Solution: Spray with neem oil or wash off with a strong jet of water.
Regular observation helps you catch problems early and respond before serious damage happens.
Bonus: Creative Herb Garden Ideas
- Vertical herb gardens: Mount planters on walls or fences.
- Hanging herb baskets: Save ground space and create a cascading effect.
- Window herb shelves: Attach shelves inside sunny windows.
- Mason jar herb gardens: Grow herbs in jars with drainage rocks at the bottom.
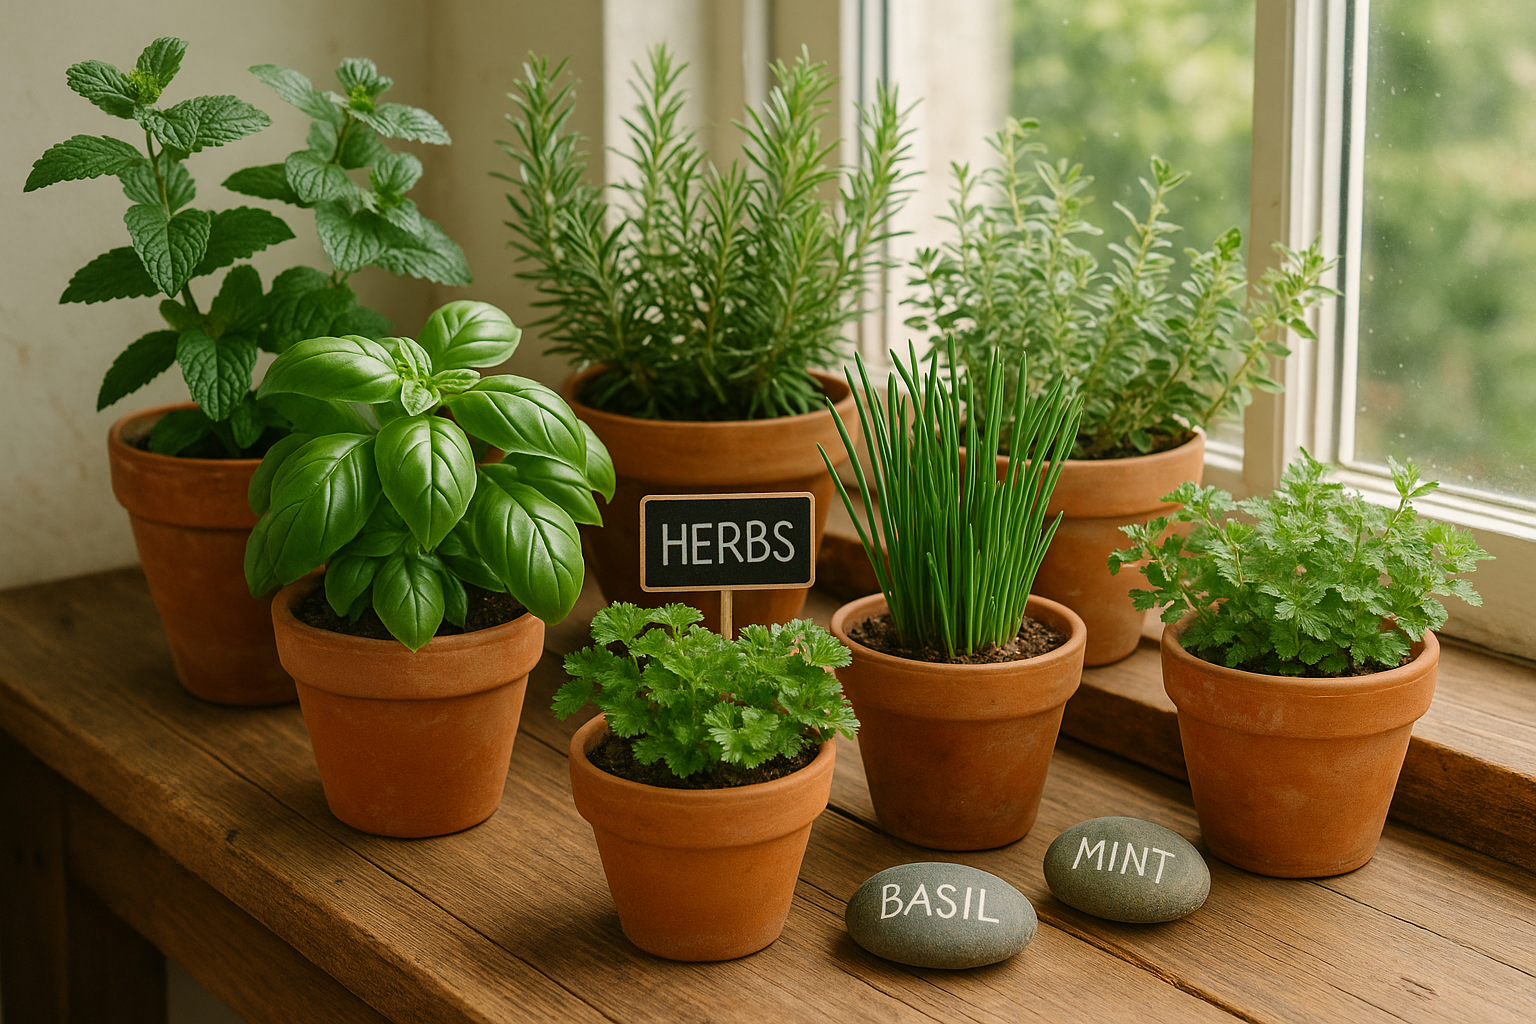
Tip: Label your plants! Chalkboard labels or painted stones add a charming touch.
Final Thoughts: A Little Garden, A Lot of Joy
Growing herbs at home is a small project with big rewards. In just a few weeks, you can be snipping fresh basil for your pizza, parsley for your salads, or mint for your lemonade.
Plus, herb gardening connects you to nature, boosts your kitchen skills, and adds living beauty to your home. It’s an affordable, beginner-friendly, and endlessly satisfying hobby.
Start simple. Be patient. Watch your little green world thrive—and enjoy every delicious moment.