If you’re looking for a way to reduce waste, improve your soil, and create a thriving garden—all while saving money—then composting is the perfect solution. Known by gardeners as “black gold,” compost is one of the most valuable resources you can make at home.
Whether you live in a house with a backyard or in a small apartment, this guide will walk you through everything you need to know about composting: from what it is and how it works, to step-by-step instructions and troubleshooting tips. Let’s transform your kitchen and garden scraps into rich, living soil!
What Is Composting?
Composting is the natural process of breaking down organic materials like food scraps, leaves, and garden waste into a nutrient-rich substance called humus. This material can be added to garden beds, containers, and lawns to improve soil structure, retain moisture, and boost plant health.
It mimics what happens on the forest floor—where fallen leaves, dead plants, and animal waste decompose and feed the soil. By composting, you’re speeding up that process in a controlled environment.
Why Compost?
There are many reasons to start composting, whether you’re a beginner gardener or a sustainability enthusiast.
1. Reduces Household Waste
Up to 30% of what we throw away is compostable. Composting diverts food scraps and yard waste from landfills.
2. Improves Soil Health
Compost adds organic matter that supports beneficial microbes, fungi, and earthworms—creating healthy, fertile soil.
3. Saves Money
Compost replaces store-bought fertilizers and soil conditioners.
4. Reduces Greenhouse Gases
Organic waste in landfills emits methane. Composting helps cut these emissions.
5. Boosts Plant Growth
Plants grown in compost-enriched soil are stronger, more resilient, and produce better yields.
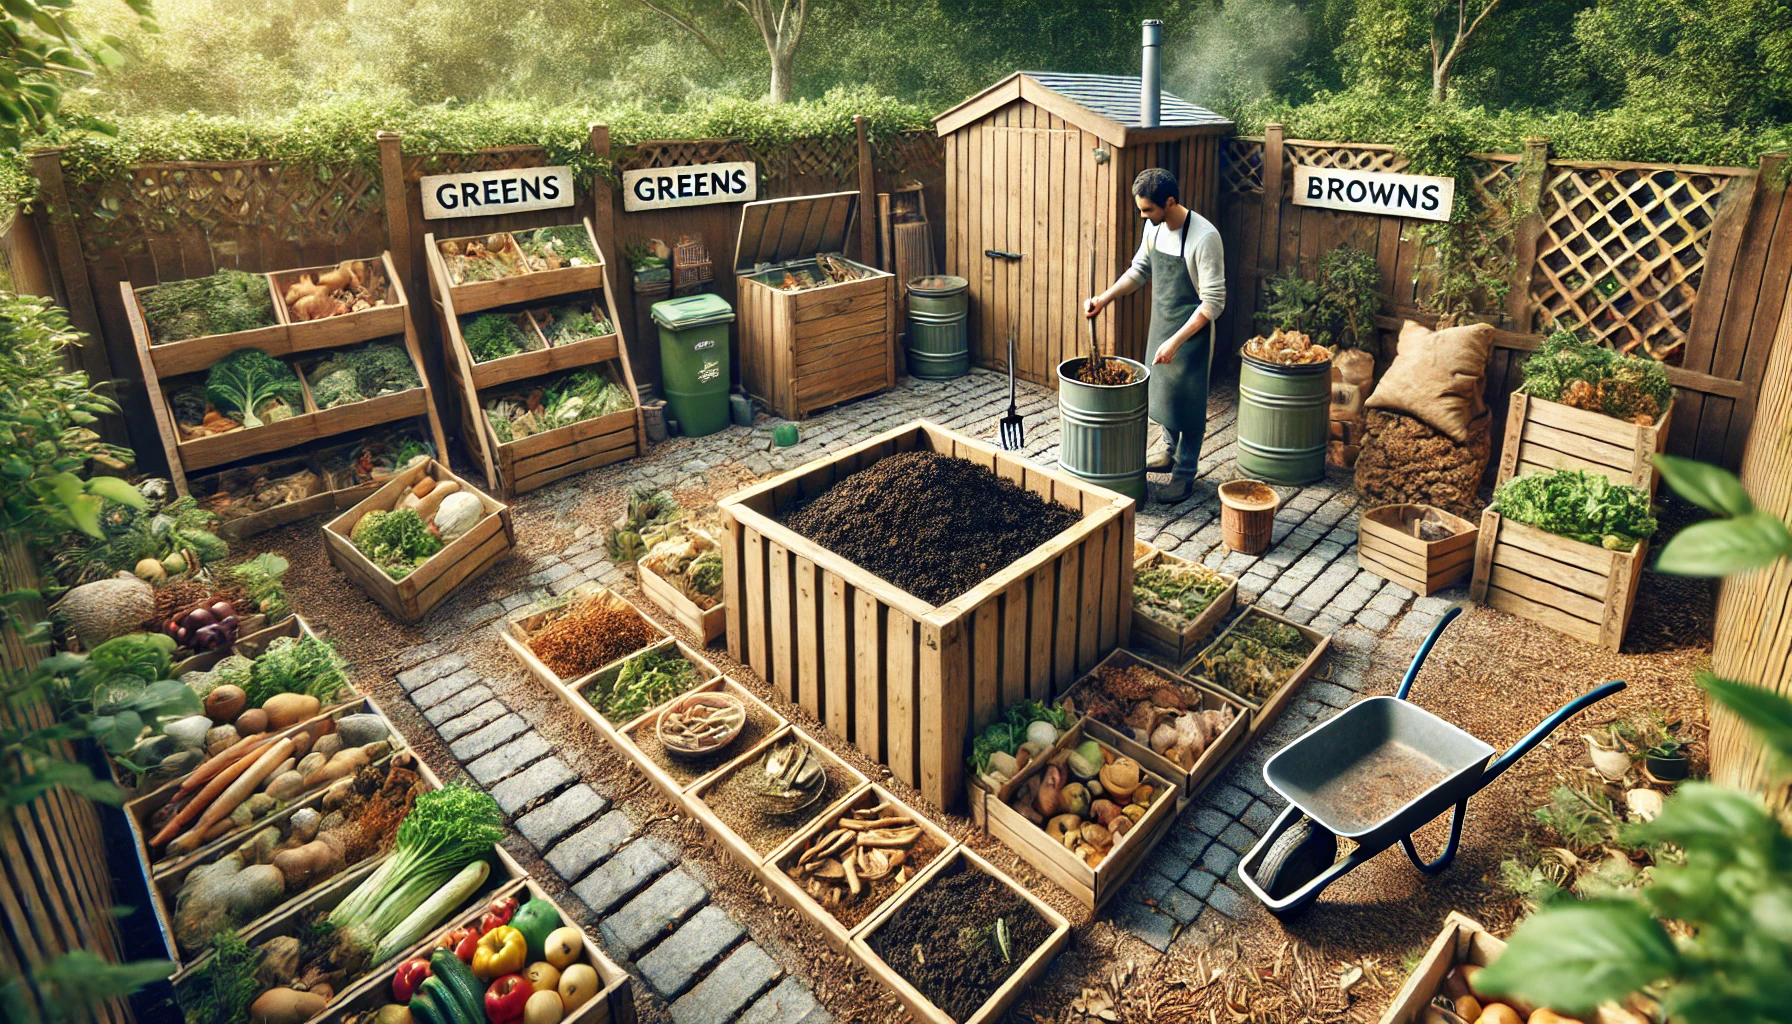
What You Can (and Can’t) Compost
A successful compost pile needs the right balance of greens (nitrogen-rich) and browns (carbon-rich) materials.
✅ Things You Can Compost
Greens (Nitrogen-rich):
- Fruit and vegetable scraps
- Coffee grounds and filters
- Tea bags (without plastic)
- Fresh grass clippings
- Plant trimmings
- Food-soiled paper towels
Browns (Carbon-rich):
- Dry leaves
- Straw or hay
- Cardboard (shredded)
- Newspaper
- Sawdust (from untreated wood)
- Egg cartons
❌ Things You Shouldn’t Compost
- Meat, fish, bones
- Dairy products
- Oily or greasy foods
- Pet waste (unless hot composting)
- Diseased plants
- Weeds with seeds
- Plastic, metal, or glass
Tip: Chop materials into smaller pieces to speed up decomposition.
Step-by-Step: How to Start a Compost Pile
Composting can be as simple or complex as you want. Here’s a step-by-step plan for setting up a basic compost system at home.
Step 1: Choose Your Composting Method
A. Outdoor Compost Pile or Bin
Best for people with a backyard.
- Pile: Simple, free, but slower and messier
- Bin: Contains compost neatly; retains heat and moisture better
B. Tumbler
- Rotating drum for easy turning and faster results
- Great for small gardens and tidy spaces
C. Worm Bin (Vermicomposting)
Perfect for apartments or indoor use.
- Uses red wiggler worms to break down food scraps
- Produces compost and “worm tea” fertilizer
- Can be kept under the sink or on a balcony
Step 2: Build Your First Layer
Start with a layer of browns at the bottom (sticks, dry leaves, cardboard) to allow airflow and drainage.
Then alternate:
- A layer of greens (kitchen scraps, fresh cuttings)
- A layer of browns (shredded paper, dry leaves)
Keep the pile slightly damp—like a wrung-out sponge.
Step 3: Maintain the Right Balance
Aim for a ratio of 2 to 3 parts brown to 1 part green. This balance ensures proper decomposition and avoids bad odors.
If your compost smells bad:
- It’s too wet or has too many greens → Add browns
If it’s dry and slow to break down:
- Add greens and water
Step 4: Turn and Mix
Compost needs air to decompose properly.
- Turn your pile with a fork or shovel every 1–2 weeks
- Tumblers can be rotated every few days
- Worm bins don’t require turning
Mixing distributes moisture and speeds up decomposition.
Step 5: Wait and Harvest
Depending on the method, composting can take from 2 to 6 months. You’ll know it’s ready when:
- It looks like dark, crumbly soil
- It smells earthy, not rotten
- Original materials are no longer recognizable
Use a sifter to remove larger pieces (which can go back into the bin) and spread the finished compost in your garden beds, pots, or around trees.
Tips for Faster Composting
- Chop materials small to speed up breakdown
- Keep the pile moist but not soggy
- Turn regularly to introduce oxygen
- Add a handful of garden soil to inoculate with microbes
- Cover with a tarp in rainy weather to avoid sogginess
Hot composting (maintaining temperatures of 55–65°C) breaks down material faster but requires more attention.
Indoor Composting for Small Spaces
Don’t have a yard? No problem! You can still compost indoors.
Options:
- Worm bin – discreet, efficient, and low-maintenance
- Electric composters – grind and dehydrate food waste quickly
- Bokashi composting – a fermentation process using bran; great for apartments
Keep a small bin on the counter with a lid and empty it into your main compost system every few days.
Using Your Finished Compost
Compost isn’t just for vegetable beds. Here’s where and how to use it:
Garden beds:
- Mix into the top 15 cm of soil before planting
- Side-dress plants mid-season for a nutrient boost
Containers:
- Add 20–30% compost to potting mix
- Use as a top layer for ongoing nutrition
Lawns:
- Spread a thin layer as topdressing to improve soil structure and microbial life
Trees and shrubs:
- Apply around the base, keeping a few inches away from the trunk
Avoid using compost as the only soil—it works best blended with existing soil or potting mix.
Common Composting Problems and Solutions
Even with the best setup, composting sometimes needs troubleshooting. Here’s a quick guide:
| Problem | Cause | Solution |
|---|---|---|
| Bad smell | Too wet or too much green | Add dry browns, turn the pile |
| Pile not breaking down | Too dry or not enough greens | Add greens and water, mix well |
| Pests in the bin | Food exposed or wrong materials | Bury food scraps, avoid meat/dairy |
| Compost is too wet | Poor drainage or rain exposure | Add more browns, cover the pile |
| Moldy spots | Natural in small amounts | Mix and maintain good airflow |
Final Thoughts: Waste Less, Grow More
Composting is a small act with huge benefits. It reduces landfill waste, saves money, improves soil, and closes the loop between kitchen, garden, and nature.
Whether you start with a backyard bin, a worm farm, or a countertop system, you’ll be amazed at how easy and rewarding composting becomes.
So next time you’re about to toss those veggie scraps or lawn clippings—stop and think. That “trash” is actually treasure. And your garden will thank you for it.