Having a home herb garden is one of the most satisfying ways to start gardening. Herbs are easy to grow, require minimal space, and offer fresh flavors, enticing aromas, and medicinal benefits right at your fingertips. Whether you have a backyard, balcony, windowsill, or kitchen counter, you can grow your own herbs all year round.
In this comprehensive guide, you’ll learn how to set up, care for, and harvest a thriving herb garden at home—indoors or outdoors. We’ll explore the best herbs to grow, how to deal with common challenges, and tips to keep your herb garden productive season after season.
Why Grow Your Own Herbs?
Before we dive into the how-to, it’s important to understand why a home herb garden is worth your time and energy.
- Freshness: You’ll always have herbs on hand, straight from the plant.
- Flavor: Fresh herbs are more aromatic and flavorful than dried store-bought ones.
- Savings: Herbs are expensive at the store, especially organic ones.
- Convenience: Grow right in your kitchen or balcony for easy access while cooking.
- Health benefits: Many herbs offer antibacterial, anti-inflammatory, and digestive properties.
- Aesthetics: A herb garden adds greenery and life to any space.
Step 1: Choose the Right Location
Your herb garden’s location will determine what herbs you can grow and how successful you’ll be.
A. Outdoor Options:
- Backyard beds
- Raised garden boxes
- Balcony railing planters
- Hanging baskets
B. Indoor Options:
- Kitchen windowsill
- Countertop herb rack
- Vertical wall planter
- Shelf with grow lights
Light Requirements:
Most herbs need 6–8 hours of sunlight per day. South-facing windows or sunny balconies are ideal. For lower-light homes, use LED grow lights to supplement.
Make sure the area has good airflow, access to water, and is protected from strong winds or cold drafts.
Step 2: Choose the Best Herbs for Beginners
Some herbs are easier to grow than others. Start with hardy varieties that don’t require constant attention.
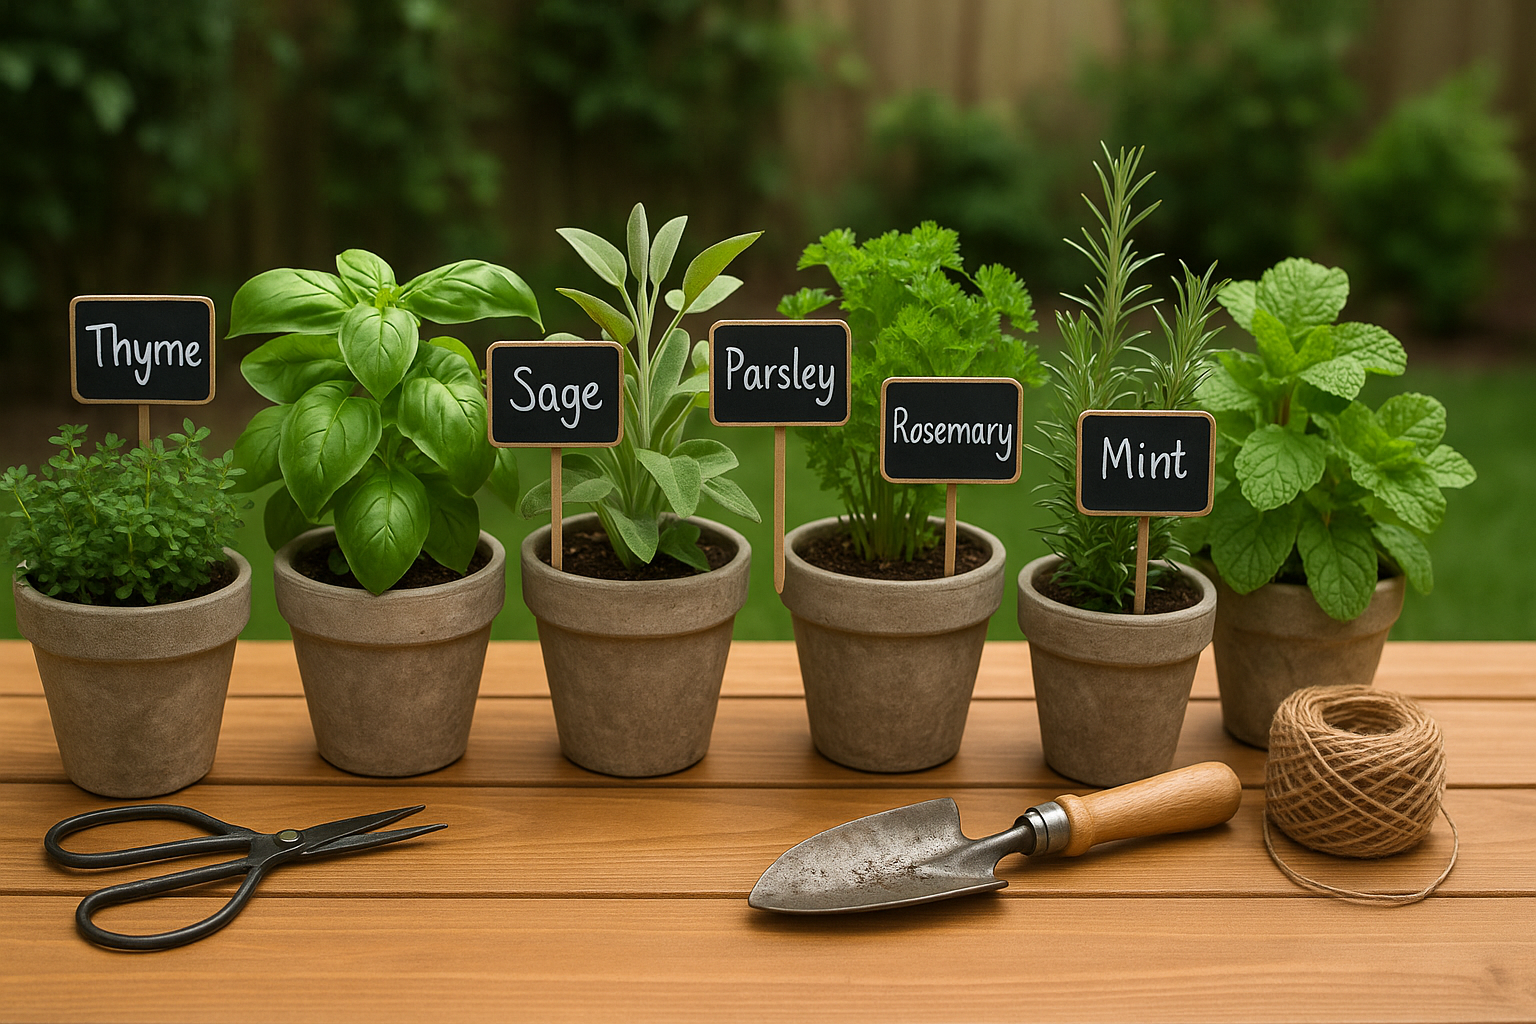
Top Herbs for Beginners:
- Basil: Great for pesto and tomato-based dishes; loves warmth and sun.
- Parsley: Grows in sun or partial shade; perfect for garnishes.
- Mint: Very easy to grow but spreads quickly—keep in containers.
- Chives: Tolerates a range of light; excellent in salads and eggs.
- Thyme: Low-maintenance and drought-tolerant.
- Oregano: Loves the sun and thrives in dry soil.
- Rosemary: Woody, fragrant herb for meats and potatoes.
- Cilantro (Coriander): Fast-growing but bolts quickly in heat.
- Dill: Great with fish and pickles; prefers cooler temps.
- Sage: Adds depth to roasted dishes and stuffing.
Choose 3 to 5 herbs you cook with often to start. You can always expand later.
Step 3: Choose the Right Containers and Soil
If you’re growing herbs in pots or containers, make sure they have:
- Drainage holes to prevent root rot
- Saucers to catch excess water indoors
- Proper size: 15–20 cm pots are perfect for most herbs
You can use:
- Clay or terracotta pots (classic look and breathable)
- Fabric grow bags (lightweight and good for airflow)
- Recycled containers like cans, jars, or wooden boxes
Best Soil for Herbs:
Use a light, well-draining potting mix. Avoid heavy garden soil. Mix in:
- Compost for nutrients
- Perlite or sand for drainage
- Organic fertilizer (slow-release pellets or liquid seaweed)
Step 4: Planting Your Herbs
You can grow herbs from seeds or starter plants (seedlings). Each option has pros and cons.
From Seeds:
- Cheaper
- More variety
- Takes longer to harvest (4–8 weeks)
From Seedlings:
- Faster harvest
- More expensive
- Less selection
General Planting Steps:
- Fill the pot with moist potting mix.
- Plant seeds according to depth instructions or transplant seedlings gently.
- Press soil lightly and water thoroughly.
- Label each plant with a tag.
Keep newly planted herbs out of direct harsh sunlight until they establish roots.
Step 5: Watering and Feeding
Proper watering is key to keeping herbs healthy. Too much water is as bad as too little.
Watering Tips:
- Check the top 2–3 cm of soil—water only when it’s dry.
- Use a watering can with a narrow spout for control.
- Avoid wetting the leaves—water the base to prevent fungal disease.
- Container herbs need more frequent watering than those in the ground.
Fertilizer:
Herbs don’t need heavy feeding. Over-fertilizing can reduce their flavor.
- Use an organic liquid fertilizer once every 2–4 weeks.
- Stop feeding herbs 1–2 weeks before harvesting for the best taste.
Step 6: Pruning and Harvesting
Pruning not only gives you herbs to use, but it also keeps the plants healthy and encourages bushy growth.
How to Prune:
- Pinch or cut above a pair of leaves to encourage side shoots.
- Harvest in the morning when oils are most concentrated.
- Never cut more than 1/3 of the plant at once.
Tip:
Start harvesting as soon as the plant is mature enough—don’t wait too long. Regular harvesting keeps herbs from flowering (bolting), which often makes the flavor bitter.
Step 7: Dealing with Common Problems
Herbs are generally low-maintenance, but here are some common issues:
Yellowing Leaves:
- Overwatering or poor drainage.
- Solution: Check pot holes and let soil dry out.
Leggy Growth:
- Not enough sunlight.
- Solution: Move to a sunnier spot or add a grow light.
Bolting (flowering too early):
- Often happens in cilantro or basil.
- Solution: Harvest often and provide shade during hot weather.
Pests:
- Aphids, spider mites, and whiteflies may appear.
- Solution: Use neem oil spray or a mild soap-water solution.
Mold or mildew:
- Usually from overwatering or poor air circulation.
- Solution: Space plants out and reduce watering frequency.
Step 8: Storing and Preserving Herbs
If your plants are producing more than you can use, here’s how to preserve them:
Drying:
- Tie stems together and hang upside down in a cool, dry place.
- Once dry, crumble into jars and label.
Freezing:
- Chop herbs and freeze in ice cube trays with olive oil or water.
- Great for cooking later.
Herb Butter or Pesto:
- Blend herbs with butter or oil to make spreads or sauces.
- Freeze in small containers.
Advanced Tips for a Productive Herb Garden
Ready to level up your herb gardening game?
Companion Planting:
- Grow basil next to tomatoes to improve flavor and repel pests.
- Pair dill and lettuce for mutual growth benefits.
Succession Planting:
- Stagger your seed planting every few weeks for continuous harvests.
Indoor Herb Wall:
- Use hanging planters or vertical racks for small-space growing.
Self-Watering Planters:
- Great for busy lifestyles or hot climates.
Build a Garden That Works for You
A home herb garden doesn’t need to be complicated or expensive. With the right setup, a bit of care, and the knowledge you now have, you can create a garden that provides flavor, beauty, and joy all year long.
Start small, learn as you grow, and enjoy the process of bringing fresh herbs into your kitchen and life.